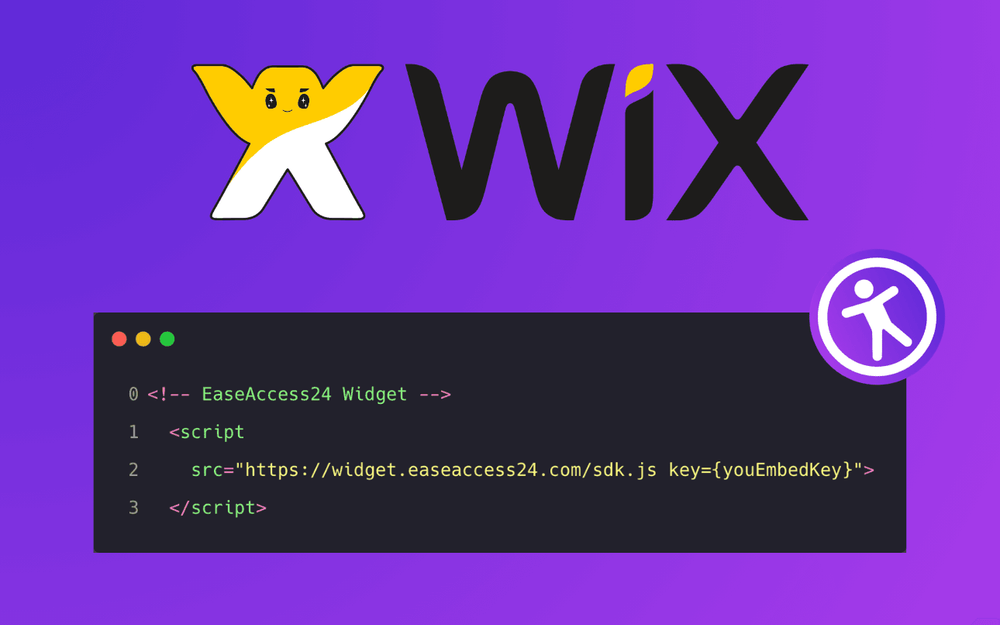
EaseAccess24 helps make your Wix website more accessible and inclusive by adding powerful accessibility features through a simple script integration.
This guide will show you how to install the EaseAccess24 accessibility widget on your Wix website step by step.
Step 1: Log in to EaseAccess24
Go to:
https://app.easeaccess24.com
Log in to your account.
If you don’t have an account, register and complete the payment process.
Step 2: Add Your Domain
Navigate to the Integrate page in your EaseAccess24 dashboard.
Add your domain, for example:
yourwebsite.com
This ensures the widget works only on authorized domains.
Step 3: Copy Your Embed Key
After adding your domain, EaseAccess24 will generate an Embed Key.
Example:
abcABC1234
Copy this key.
Step 4: Add the Widget Script
Add the following script inside the `<head>` section of your Wix website:
<script src="https://widget.easeaccess24.com/sdk.js?key=YOUR_EMBED_KEY"></script>
Replace:
YOUR_EMBED_KEY
with your actual Embed Key.
Example:
<script src="https://widget.easeaccess24.com/sdk.js?key=abcABC1234"></script>
Step 5: Save and Publish
Save your changes and publish your website.
The EaseAccess24 widget will automatically appear on your website.
How It Works
The script:
- Loads the EaseAccess24 SDK
- Validates your domain
- Initializes the accessibility widget
- Displays accessibility controls automatically
No additional configuration is required.
Troubleshooting
If the widget does not appear:
- Make sure your Embed Key is correct
- Make sure your domain is added in EaseAccess24 dashboard
- Clear your cache
- Refresh your website
Conclusion
Integrating EaseAccess24 on Wix is simple and requires only one script.
Your website will instantly become more accessible and inclusive.